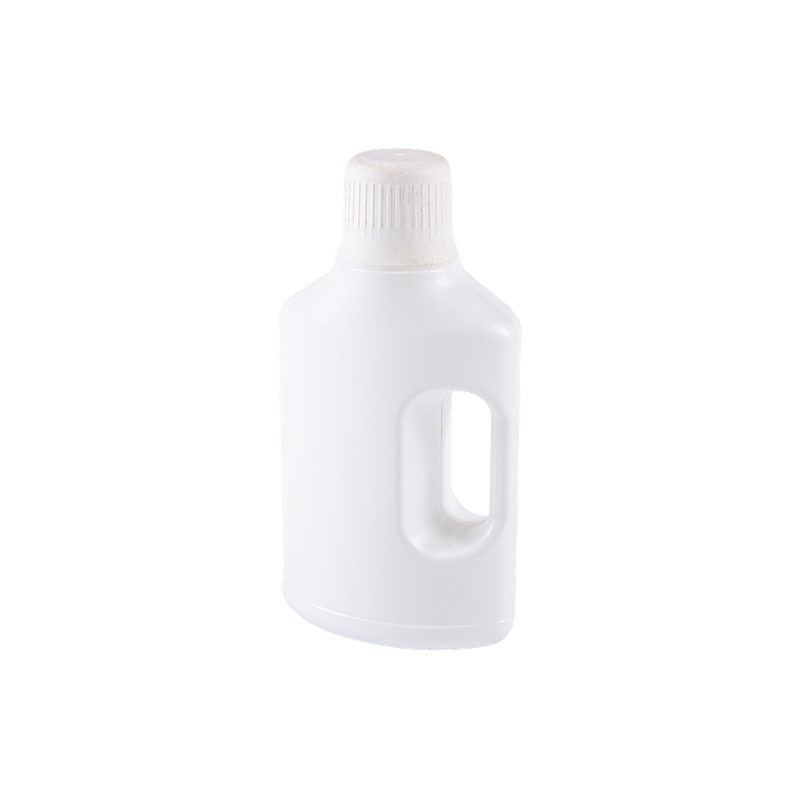
1. Choosing the Right Disinfectant Spray Bottle
Picking an appropriate disinfectant spray bottle begins with matching bottle material and nozzle design to the chemical you plan to use. Common bottle materials include PET, HDPE, and simple glass-lined options—each has specific chemical compatibilities and durability. A bottle with a wide mouth is easier to fill and clean, while a leak-proof screw cap and sturdy trigger mechanism reduce drips and waste. Consider labeling areas and tamper-evident seals if you store different solutions.
2. Materials and Nozzle Types — Quick Comparison
Different disinfectants interact differently with bottle materials and nozzle internals. Below is a concise table to help you decide based on typical household and light-commercial disinfectants (bleach, quaternary ammonium, alcohol-based solutions).
| Material | Best For | Notes |
| PET (plastic) | Alcohol-based sprays, mild cleaners | Lightweight, transparent; not ideal for concentrated bleach long-term |
| HDPE (plastic) | Dilute bleach, quats | More chemical resistant than PET; opaque options protect light-sensitive contents |
| Glass or glass-lined | Concentrated or reactive chemicals | Heavier and breakable; best when chemical compatibility is a concern |
3. Nozzle Types and Spray Patterns
Nozzle choice affects coverage, droplet size, and contact time. A fine mist nozzle covers large areas quickly but may evaporate faster (important for alcohol solutions). A jet or stream nozzle conserves liquid and is useful for spot treatment, drains, or crevices. Adjustable nozzles that switch between mist and stream give the most flexibility. For disinfectants that require surface wetting for a set contact time, choose a nozzle that provides consistent droplets and avoid overly fine atomization that causes rapid evaporation.
4. Safe Filling, Dilution, and Labeling Practices
Always follow manufacturer instructions for dilution ratios and safety. When diluting concentrated disinfectant, fill the bottle with measured water first, then add the concentrate to avoid splashing concentrated chemical onto skin. Use measuring cups or graduated cylinders for accuracy. Clearly label each bottle with the product name, dilution ratio, preparation date, and any hazard information. Store mixed solutions away from heat and sunlight and set an expiration or re-mix date based on the disinfectant's effective life (often 24–30 hours for many diluted solutions).
5. Step-by-Step: Using a Disinfectant Spray Bottle Effectively
5.1 Prep and cleaning
Begin by removing visible dirt and grime; disinfectants work poorly on soiled surfaces. Wipe the area with detergent and rinse or remove loose debris. This step ensures the active ingredient contacts the surface directly rather than binding to organic matter.
5.2 Apply for correct coverage
Hold the nozzle 6–12 inches from the target surface and apply a uniform coat. If the disinfectant's label specifies a wet contact time (for example, "keep surface visibly wet for 2 minutes"), make sure the spray deposits enough liquid to remain wet for that period. For vertical surfaces, use short bursts starting from the top and moving downward to avoid runoff.
5.3 Wiping vs air-dry
Some instructions require wiping after the contact time, others allow air-drying. If wiping is recommended, use single-use disposable wipes or a clean microfiber cloth to avoid recontamination. For high-touch surfaces like door handles, wiping after contact time helps remove residual soil and any loosened microbes.
6. Cleaning and Maintaining the Bottle
Regular maintenance prevents clogs, chemical degradation, and cross-contamination. Rinse the bottle, trigger, and nozzle assembly with warm water after emptying if you will store a different solution later. For stubborn residue, disassemble the nozzle (if possible) and soak it in warm water or a mild detergent before flushing. Inspect O-rings and seals periodically and replace them if brittle or cracked. Store bottles upright with the nozzle closed to prevent accidental leakage.
7. Troubleshooting Common Problems
If the sprayer spits or sputters, prime the pump by immersing the tube in water and pumping until a steady flow returns; small air pockets often cause sputtering. Clogs can be cleared by soaking the nozzle in warm water or using a thin wire to remove buildup—only do this when the nozzle is detached and rinsed to avoid injury. If trigger resistance increases, check for buildup or mineral deposits in the pump and clean according to the manufacturer's guidance.
8. Portable Use, Transport, and Regulatory Tips
When transporting disinfectant bottles in vehicles, secure them upright in spill-proof containers and avoid leaving them in direct sunlight. For workplaces and public spaces, check local regulations for labeling and storage of cleaning chemicals; some regions require Safety Data Sheets (SDS) be available for staff. Keep disinfectant spray bottles out of reach of children and clearly separate them from food-handling containers to prevent accidental ingestion.
9. Final Checklist Before Use
- Confirm disinfectant is appropriate for the surface and organism of concern.
- Verify dilution ratio and prepare fresh solution as needed.
- Label bottle with contents and preparation date.
- Test spray pattern and adjust nozzle for even coverage.
- Store securely and keep SDS accessible for staff.


 English
 Español


